How to Install an Expansion Tank on Your Water Heater

Water heaters are an essential part of any home, providing hot water for bathing, cooking, and cleaning. However, as the water heats up, it expands, leading to increased pressure in your plumbing system. If left unregulated, this pressure can cause significant damage to your pipes, appliances, and even the water heater itself. That’s where an expansion tank comes in.
An expansion tank helps absorb excess pressure caused by thermal expansion, protecting your water heater and plumbing system. In this comprehensive guide, we will walk you through the process of installing an expansion tank on your water heater, ensuring safety and efficiency.
Key Takeaways
- An expansion tank helps prevent excess pressure build-up in a closed plumbing system.
- Installing an expansion tank can extend the lifespan of your water heater and plumbing fixtures.
- Proper installation requires checking and adjusting air pressure in the expansion tank.
- Following manufacturer guidelines and local plumbing codes is essential.
- Professional assistance from a licensed plumber ensures correct installation and peace of mind.
Understanding Thermal Expansion and Its Impact
When water is heated, it expands, increasing pressure in the plumbing system. In homes with a closed water system—where water cannot flow back into the municipal supply—this expansion can strain pipes and fixtures.
Over time, excessive pressure may cause leaks, reduce the efficiency of your appliances, and trigger the temperature and pressure relief valve (T&P valve) to discharge water.
By installing an expansion tank, you create a dedicated space for excess water to expand safely, relieving pressure and protecting your plumbing system from potential damage.
Tools and Materials Needed for Installation
Before starting the installation process, gather the following tools and materials:
- Expansion tank (sized according to your water system)
- Pipe wrench
- Teflon tape
- Air pressure gauge
- Bicycle pump or air compressor
- Support bracket or strap (if required)
- Adjustable wrench
- Pipe cutter (if necessary)
Ensuring you have the correct expansion tank size is crucial. Typically, a 2-gallon expansion tank is sufficient for residential water heaters with a capacity of 40-50 gallons. However, always check manufacturer recommendations.
Step-by-Step Guide to Installing an Expansion Tank on Your Water Heater
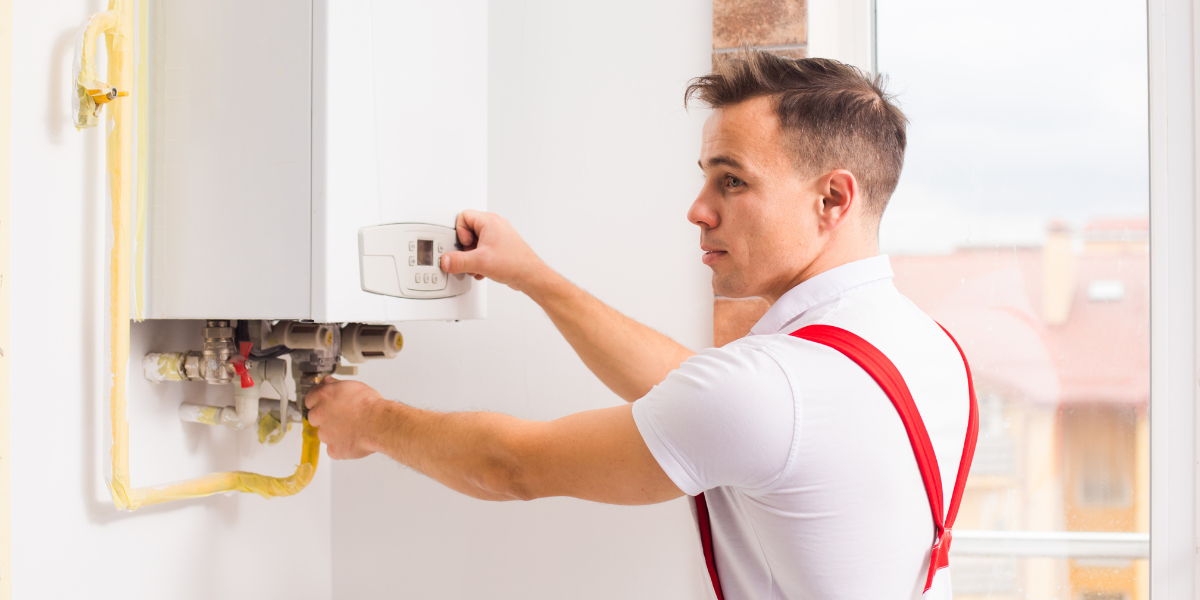
Step 1: Turn Off the Water Supply and Power
To begin, ensure the water heater is turned off. For electric models, switch off the breaker, while for gas models, turn off the gas valve. This step is essential to prevent accidents during installation.
Next, shut off the cold water supply valve to stop water from entering the system.
Step 2: Drain the Water Heater (If Necessary)
If your system has no shut-off valve near the intended installation point, you may need to drain some water from the heater. Attach a hose to the drain valve and release enough water to avoid leaks when working on the cold water line.
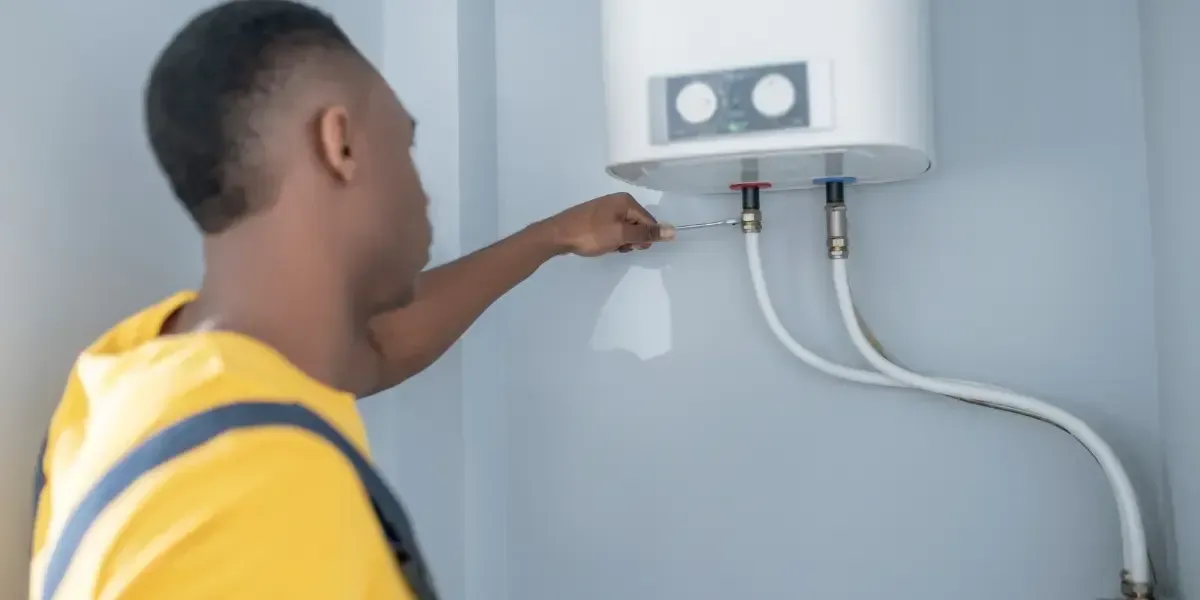
Step 3: Identify the Installation Location
The expansion tank should be installed on the cold water supply line between the shut-off valve and the water heater. Make sure there is enough space for secure mounting.
Step 4: Adjust the Expansion Tank’s Air Pressure
Using an air pressure gauge, check the expansion tank's pre-charge pressure. The pressure should match your home's water pressure, typically between 50-60 psi. Adjust using a bicycle pump or air compressor if necessary.
Step 5: Install the Expansion Tank
Apply Teflon tape to the threaded fitting of the expansion tank to prevent leaks. Then, connect the expansion tank to the cold water supply line, tightening it securely with a wrench.
If the manufacturer recommends additional support, use a bracket or strap to prevent excess strain on the plumbing joints.
Step 6: Restore Water Supply and Power
Open the water supply valve slowly to refill the system. Check for leaks around the expansion tank and fittings. Once confirmed, restore power to the water heater and allow it to reach operating temperature.
Step 7: Conduct a Final Check
Monitor the expansion tank over the next few hours for any leaks or pressure irregularities. If everything is functioning properly, your installation is complete.
How Mike's Plumbing and Rooter Service Can Help You
While installing an expansion tank is manageable for experienced DIYers, professional assistance can ensure the job is done correctly and efficiently. Mike's Plumbing and Rooter Service specializes in water heater maintenance and expansion tank installations, providing top-notch service and expert guidance.
Why You Should Choose Mike's Plumbing and Rooter Service
- Experienced Professionals: Our team has years of experience in plumbing and water heater maintenance.
- Guaranteed Quality Work: We ensure proper installation that meets safety codes and manufacturer specifications.
- Affordable Pricing: We offer competitive pricing for expansion tank installation services.
- 24/7 Emergency Services: If you experience sudden plumbing issues, we are available to assist at any time.
- Customer Satisfaction: We prioritize customer satisfaction and provide exceptional service tailored to your needs.
If you're unsure about installing an expansion tank yourself or encounter complications, our experts are ready to help. Call us today to schedule an appointment!
Conclusion
Installing an expansion tank on your water heater is a proactive step in protecting your plumbing system from pressure-related damage. By following the proper installation process and ensuring your system is well-maintained, you can extend the lifespan of your water heater and prevent costly repairs.
If you're not comfortable handling the installation yourself, the professionals at
Mike's Plumbing and Rooter Service are here to help. Contact us today for expert plumbing services and enjoy a worry-free water heating system in your home.
Frequently Asked Questions
Do I Need an Expansion Tank for My Water Heater?
Yes, if you have a closed plumbing system, an expansion tank is highly recommended to prevent pressure build-up and potential damage to your plumbing and water heater.
How Do I Know if My Expansion Tank Is Functioning Properly?
Check the air pressure in the expansion tank regularly using an air pressure gauge. Additionally, ensure there are no leaks or water discharge from the tank.
Can I Install an Expansion Tank on My Own?
Yes, with the right tools and knowledge, homeowners can install an expansion tank. However, if you’re unsure, hiring a professional plumber ensures proper installation and compliance with plumbing codes.
How Long Does an Expansion Tank Last?
Most expansion tanks last between 5 to 10 years, depending on water quality and system maintenance. Regular inspections can help prolong its lifespan.
What Happens If I Don’t Install an Expansion Tank?
Without an expansion tank, excess pressure from thermal expansion can cause leaks, trigger the T&P valve, and reduce the lifespan of your water heater and plumbing fixtures.